



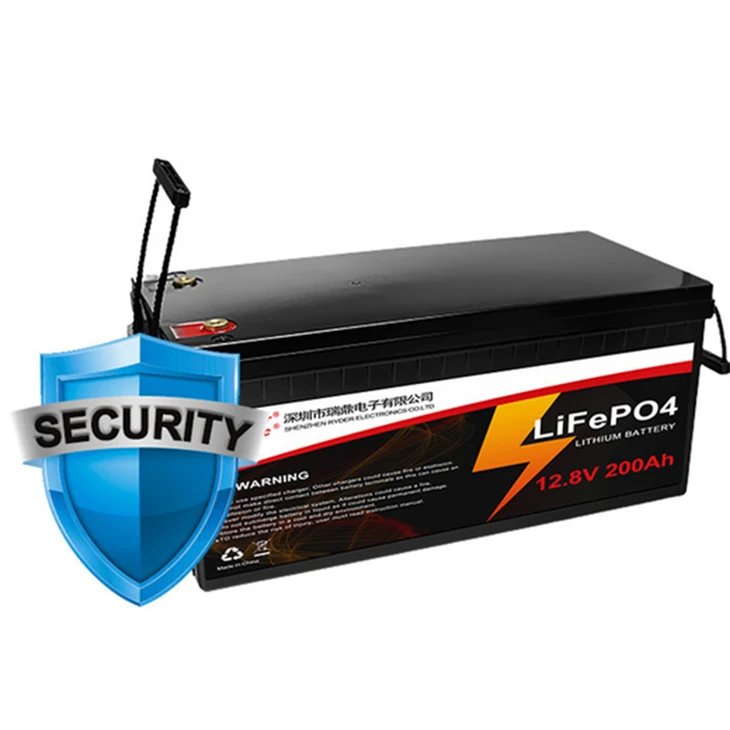
Hey there, fellow battery enthusiasts! I'm a supplier of the 12.8V 200Ah Battery Pack, and today I'm gonna walk you through the process of replacing the cells in a 12.8V 200Ah battery pack. Whether you're looking to extend the life of your existing battery or just wanna learn some new skills, this guide is for you.
Why Replace Battery Cells?
First off, let's talk about why you might wanna replace the cells in your battery pack. Over time, battery cells can wear out, lose their capacity, or even develop faults. When this happens, your battery might not hold a charge as long as it used to, or it could stop working altogether. By replacing the worn - out cells, you can give your battery a new lease on life and save yourself the cost of buying a brand - new battery pack.
What You'll Need
Before you start replacing the cells, you'll need to gather a few tools and materials:
- New Battery Cells: Make sure the new cells you choose are compatible with your 12.8V 200Ah battery pack. You can reach out to us, and we'll help you find the right ones.
- Safety Gear: This includes safety glasses, gloves, and a fire - extinguisher. Working with batteries can be dangerous, so safety should always be your top priority.
- Soldering Iron and Solder: You'll need these to connect the new cells to the battery pack. Make sure you have some experience with soldering or get someone who does.
- Multimeter: This will help you test the voltage and resistance of the cells and the battery pack.
- Insulating Tape: To insulate the soldered connections and prevent short - circuits.
Step 1: Safety First
As I mentioned earlier, safety is crucial when working with batteries. Lithium - based batteries, like the ones in our 12.8V 200Ah Battery Pack, can be volatile if not handled properly. So, before you start, make sure you're working in a well - ventilated area, away from any open flames or heat sources. Put on your safety glasses and gloves, and have that fire - extinguisher within reach.
Step 2: Disassemble the Battery Pack
Locate the screws or clips that hold the battery pack together. Use a screwdriver or a suitable tool to remove them and carefully open the battery pack. Be gentle as you do this, as you don't want to damage any of the internal components. Once the pack is open, you'll see the individual battery cells connected together.
Step 3: Identify the Faulty Cells
Use your multimeter to test the voltage of each cell in the battery pack. A healthy cell should have a voltage within a certain range. If you find a cell with a significantly lower voltage compared to the others, it's likely a faulty cell that needs to be replaced. Mark the faulty cells so you don't get confused when it's time to replace them.
Step 4: Remove the Faulty Cells
Using your soldering iron, carefully melt the solder that connects the faulty cells to the battery pack. Be careful not to overheat the surrounding components. Once the solder is melted, gently remove the faulty cells from the pack.
Step 5: Install the New Cells
Take your new battery cells and position them in the place of the removed faulty cells. Make sure they are properly aligned and that the connections are in the right place. Then, use your soldering iron to solder the new cells to the battery pack. Start by soldering one connection, and then move on to the next. Make sure the solder joints are clean and strong.

Step 6: Insulate the Connections
After soldering the new cells, use insulating tape to cover the soldered connections. This will prevent short - circuits and protect the connections from damage.
Step 7: Reassemble the Battery Pack
Once you've insulated all the connections, carefully put the battery pack back together. Replace the screws or clips that you removed earlier, and make sure the pack is securely closed.
Step 8: Test the Battery Pack
Use your multimeter to test the voltage of the entire battery pack. It should be close to 12.8V. If the voltage is significantly lower or higher, there might be a problem with the installation. In that case, double - check your connections and make sure all the cells are properly soldered.
Related Battery Products
If you're interested in different battery options, we also offer a range of high - quality batteries, such as the Deep Cycle Lithium Iron LiFePO4 Battery 76.8V, Deep Cycle Phosphate Battery Pack Solutions, 12.8V 24Ah Trolley Battery, and 24V 150Ah Battery. These batteries are designed to meet various power needs and offer long - lasting performance.
Contact Us for Purchase
If you're thinking of replacing the cells in your battery pack or are interested in buying our products, don't hesitate to reach out. We're here to assist you with any questions you may have, provide you with detailed product information, and help you make the best decision for your power needs. Whether you're a DIY enthusiast or a business looking for reliable battery solutions, we've got you covered.
References
- Battery Technology 101: A Comprehensive Guide
- Lithium - Ion Battery Safety Best Practices Manual
So there you have it, folks! A step - by - step guide on how to replace the cells in a 12.8V 200Ah battery pack. If you have any questions or need further assistance, feel free to leave a comment below or contact us. Happy battery cell replacement!


